This post includes affiliate links. Find out more about affiliate links and how they help this site.
Poached chicken gets a bad rap for being boring, bland and generally a bit sad-looking. Most of the time, I’d agree on all counts, but I hope this recipe will change your mind.
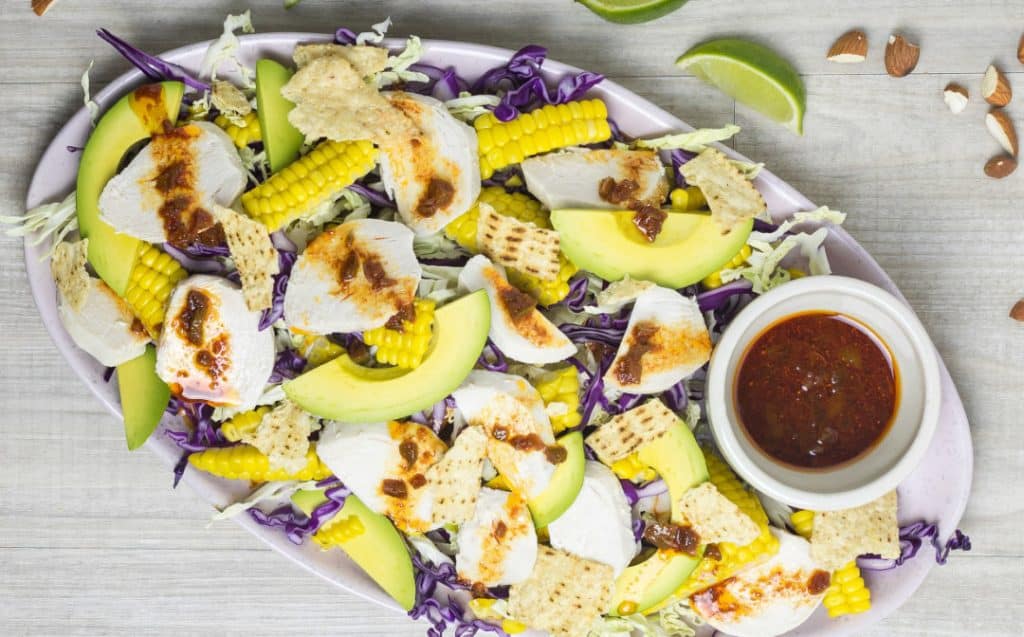
Mexican chicken salad is all the things I love about a substantial dinnertime salad. It’s nutritious and fresh, and there’s nothing bland about it at all. Absolutely packed with flavour, this salad mixes the soft juicy texture of poached or sous vide chicken breast with creamy avocado, bright and colourful vegetables, crunchy toasted almonds and the crispy, salty hit of crushed tortilla chips. A smoky paprika and fresh lime dressing brings everything together. I’m not sure if it’s a dish you’d actually find in Mexico, but it feels like a lighter version of some of my favourite Mexican and Tex-Mex meals, which means I can enjoy those flavours a little more often.
How to make Mexican Chicken Salad
If you prepare some of your ingredients ahead of time, Mexican Chicken Salad is a brilliant recipe for busy weeknights, or a lunchbox that’ll be the envy of everyone in your workplace.
I’ve given directions in the recipe for making the salad start to finish in one go, but here’s how I often make it work ahead. This way, I can get a satisfying dinner on the table in the ten or fifteen minutes it takes my kids to pack away their toys, wash hands and set out plates.
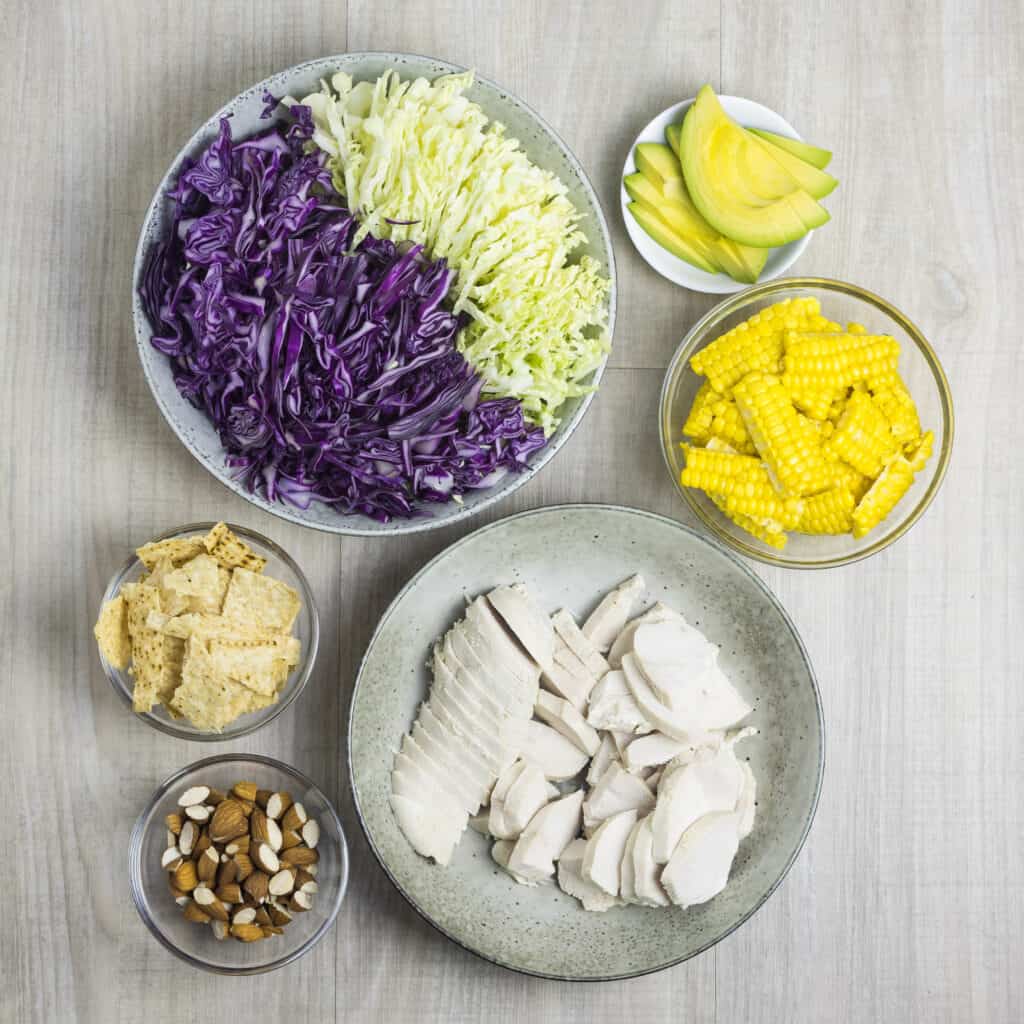
Up to two days ahead:
1. Cook and slice the chicken. Below, I’m going to show you a simple method for poaching chicken breasts in a pot, but if you’ve got a steam oven you can steam or sous vide your chicken instead (see the recipe headnotes for directions). Once the chicken is cooked, let it cool completely, then slice and store in a covered container in the fridge.
2. Shred the cabbage. Shredded cabbage will easily keep refrigerated for a couple of days in an airtight container.
3. Make the dressing. This will keep, refrigerated in a jar, for several days. Just shake and pour when you’re ready to dress the finished salad.
4. Toast and chop your almonds, and store them in a container in the pantry.
When it’s time to serve:
5. Remove the chicken, cabbage and dressing from the fridge around 20 minutes before serving, to come up to room temperature.
6. Steam or boil the corn and slice kernels from the cob.
7. Slice the avocado.
8. Toss the salad together, top with almonds and crush the tortilla chips over the top, then dress at the table.
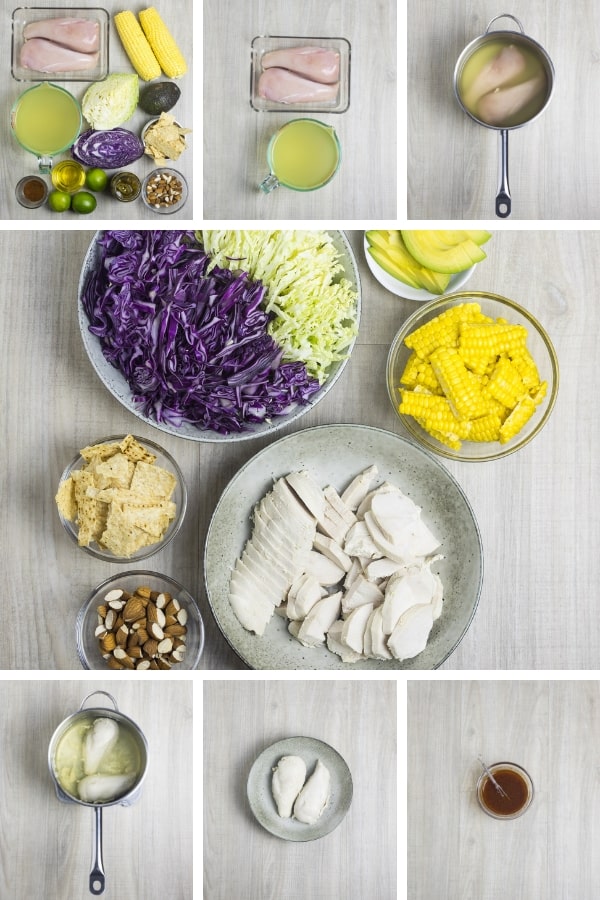
How to poach chicken
Poaching is one of the easiest ways to cook chicken, and as long as you don’t overcook it, it’ll reward you with the most tender meat. I also like it because you can add flavourings to the liquid you cook the chicken in, giving it a different flavour twist depending on what you’ll be using the cooked meat for.
This is the most basic method for chicken poaching:
1. Put boneless, skinless chicken breasts into a pot where they’ll fit without too much excess room around them. Add chicken broth or well-salted water to just cover, then set the pot over medium heat to come to a boil.
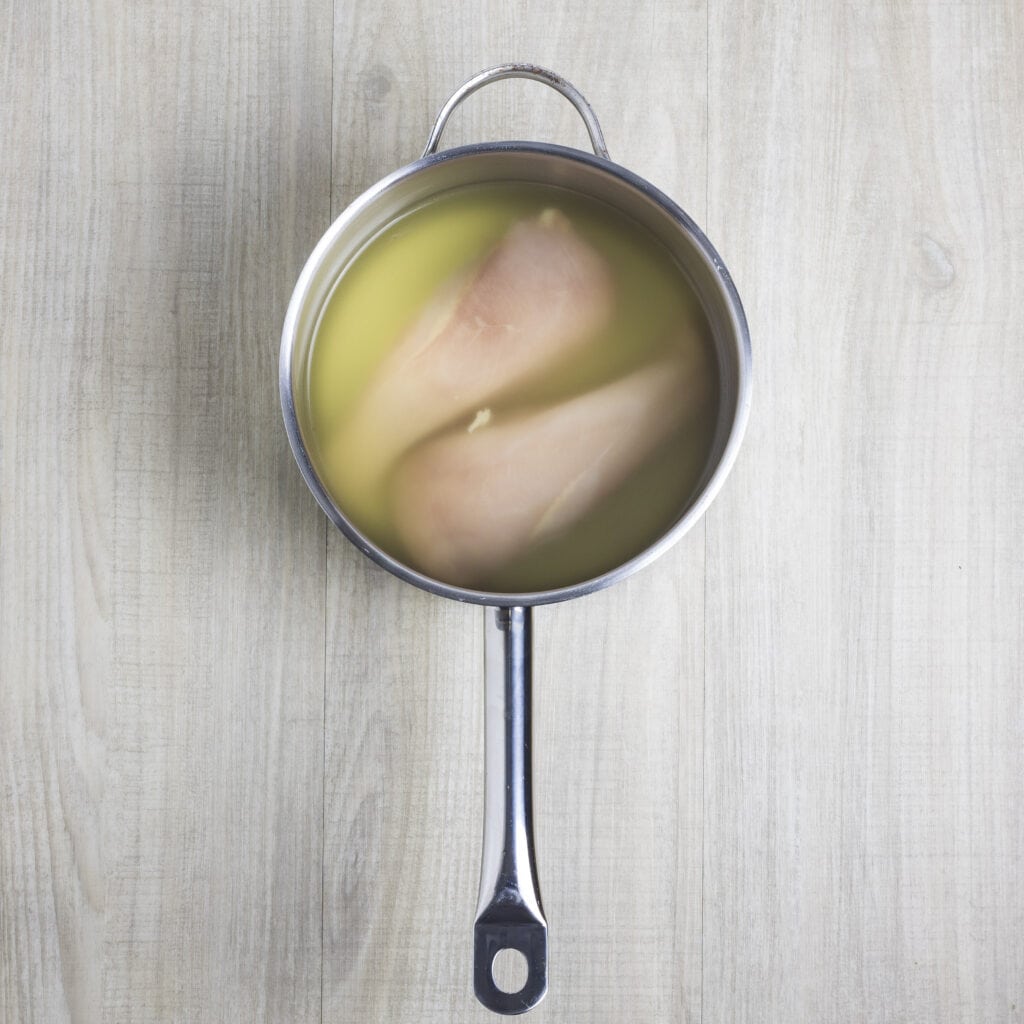
2. As soon as the cooking liquid reaches boiling point, turn the heat right down so it’s barely simmering. A few little blips of liquid here and there is all you’re looking for.
3. Cook the chicken for 10-15 minutes, depending on thickness. If you’re unsure how long to poach your chicken for, an instant-read digital thermometer is an invaluable tool to check for doneness. I absolutely love this one because I’m left-handed and it has a cool reverse display thing that means I’m not always trying to read upside down (if you’re a regular righty, they also make one that’s half the price and probably just as good). The centre of the thickest part of the chicken should read 74°C/165°F when done.
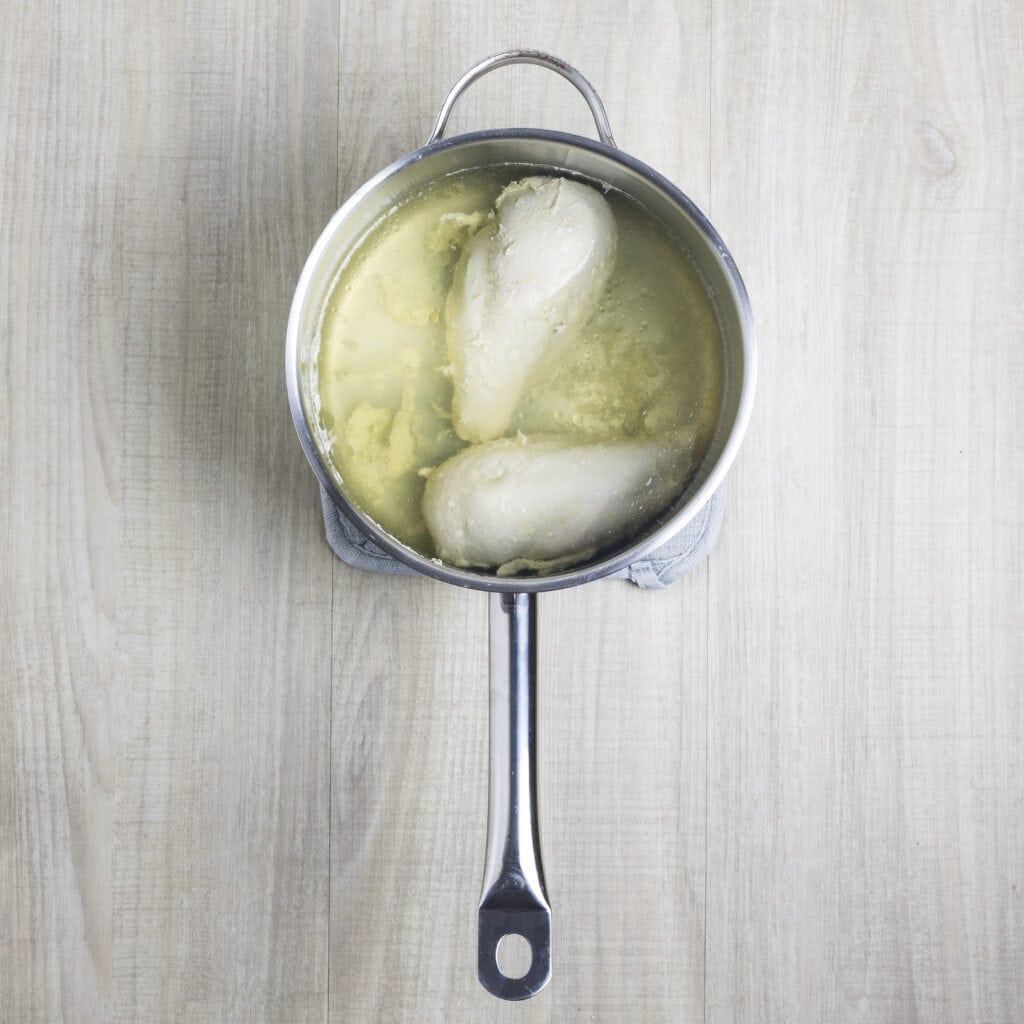
4. Here’s the critical part: when your chicken is cooked, turn off the heat but leave the chicken in the cooking liquid for at least 15-20 minutes, and up to half an hour. You know how resting roasted and grilled meats makes them more juicy and tender? This is the same principle applied to poaching. The chicken cools slowly in the liquid, shrinks less and retains all that moisture you want to keep inside.
How to cook chicken sous vide
If you’ve got a steam oven or a sous vide device like an immersion circulator, and you like the idea of trying out this great cooking method for your chicken salad, you can sous vide your chicken instead of poaching.
Sous vide results in chicken that’s more tender, juicy and flavourful than any other method I’ve tried, but you do need to follow some basic rules about time and temperature to make sure your food is pasteurized and safe to eat. This article explains the difference time and temperature make to the safety of sous vide cooked meat, if you’re new to the method.
I sous vide chicken breasts in a sealed bag in my steam oven, set to 65°C/150°F for 2 hours. I then put them straight into the fridge, and leave in the bag until they’re cold and ready to slice.
I hope Mexican Chicken Salad makes it onto your ‘to eat’ list this week, and I’d love your feedback in the comments section, or over on Facebook or Instagram.
Happy cooking, see you here again soon.

Mexican Poached Chicken Salad
Ingredients
- 1 lb chicken breasts 2 medium sized breasts
- 1 qt light chicken broth or salted water
- 2 ears sweetcorn
- ¼ green cabbage finely sliced
- ¼ red or purple cabbage finely sliced
- 1 avocado peeled and cubed
- 3 limes juiced, to give about 3 tbs
- 3 tbs extra virgin olive oil
- 1 tsp smoked paprika or chipotle powder
- 2 tbs pickled jalapeno peppers finely chopped
- salt
- 1/3 cup almonds toasted and roughly chopped
- 1.75 oz tortilla chips crushed (this is roughly equivalent to a large handful)
Instructions
- Put the chicken and broth into a small pot over medium heat. Bring to the boil and immediately turn the heat down so the liquid is barely simmering. Continue cooking until the chicken is cooked through, about 10-15 minutes. Remove from heat and let the chicken sit in the cooking liquid for 15-20 minutes (don’t skip letting the chicken rest in the liquid – this is what makes it really tender and soft!).
- While the chicken cooks, steam or boil the corn until tender, about 8-10 minutes. Slice the kernels off the cobs. For textural interest in the salad, I like to try and keep some kernels together in little clumps, rather than breaking them all apart.
- Slice or shred the chicken into bite-sized pieces. Put the cabbage, chicken, corn and avocado into a large salad bowl.
- Whisk together the lime juice, oil, smoked paprika and jalapeno peppers, and season well with salt. Pour this over the salad and toss gently to combine, trying not to break up the corn or avocado.
- Top with the almonds and crushed tortilla chips and serve immediately.
Notes
- Serves 4.
- If you don’t have them, smoked paprika and pickled jalapeno chilies are available online or at good supermarkets, and chipotle powder can be bought online (it’s great added to all kinds of Mexican-themed dishes, I love it in chili con carne or incorporated into a seasoning rub for pulled pork).
- I use two types of cabbage in this recipe – green Savoy and the thicker-leafed purple or red variety. It’s completely fine to use just one, though I love the textural and colour differences of having both in there.
- If you’d like to turn this into a lunchbox meal, make it up to the end of step 3. Make your dressing and pack separately. Pack the almonds and tortilla chips separately, then dress and top with the nuts and chips just before serving.
Nutrition
Over to you – if you try this recipe I’d love to know about it! Share your comments below or on Facebook, tag @steamandbake on Instagram, or pin all your favourite Steam and Bake recipes over on Pinterest!
Would you like more recipes and tips to help you cook with confidence? Join the mailing list to be alerted to new posts.


For local hybrid sweet corn, a single ear will cook in 60 seconds if lowered into a pot of boiling water, or for several ears just 3 or four minutes at most until the water returns to a boil. My steam oven turns the fresh kernels chewy and dull on an ear of corn no matter what I do unless I cut the kernels off the cob first.