


Homemade yoghurt is easier than you think! It’s also one of those satisfying kitchen projects that doesn’t require much hands-on time.
I’ve been making my own yoghurt for years, and we go through at least a couple of kilograms (about 4 pints!) a week. I was shocked to discover that homemade saves me literally hundreds of dollars a year on store bought yoghurt. I’ve refined down my process to make it exactly how we prefer, and I think you’ll love it too.
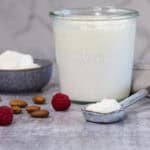
With just a couple of ingredients and a steam oven (or stovetop), you too can have a batch of creamy, thick yoghurt.
As an Amazon affiliate I earn from qualifying purchases. This post may also contain other affiliate links, which means I may earn a commission if you click through and make a purchase, at no additional cost to you.
Why you’ll love homemade yoghurt
There’s a lot to love about homemade yoghurt, from the short ingredient list to the customisable texture and tang. Whether you’re making it for cost savings, reduced packaging waste, or because you want yoghurt with no additives, this recipe delivers.
It’s an especially good fit for steam oven users. The gentle and consistent heat settings help take the guesswork out of fermentation. Once you try making yoghurt this way, you’ll be hooked.
Ingredients, equipment and substitutions
You only need two ingredients to make a good basic yoghurt: whole milk and a couple of tablespoons of live yoghurt (which acts as your starter culture). I add a third ingredient; milk powder. The milk powder is optional, but it gives the yoghurt a thicker, creamier texture which my kids love.
Full-fat milk gives the best results here. Low-fat or skim milk can work, but your yoghurt will be thinner and may not set as reliably. For your starter yoghurt, choose a good quality, unsweetened brand with live cultures and no additives. Once you’ve made a batch, you can use a spoonful or two from it to culture your next one.
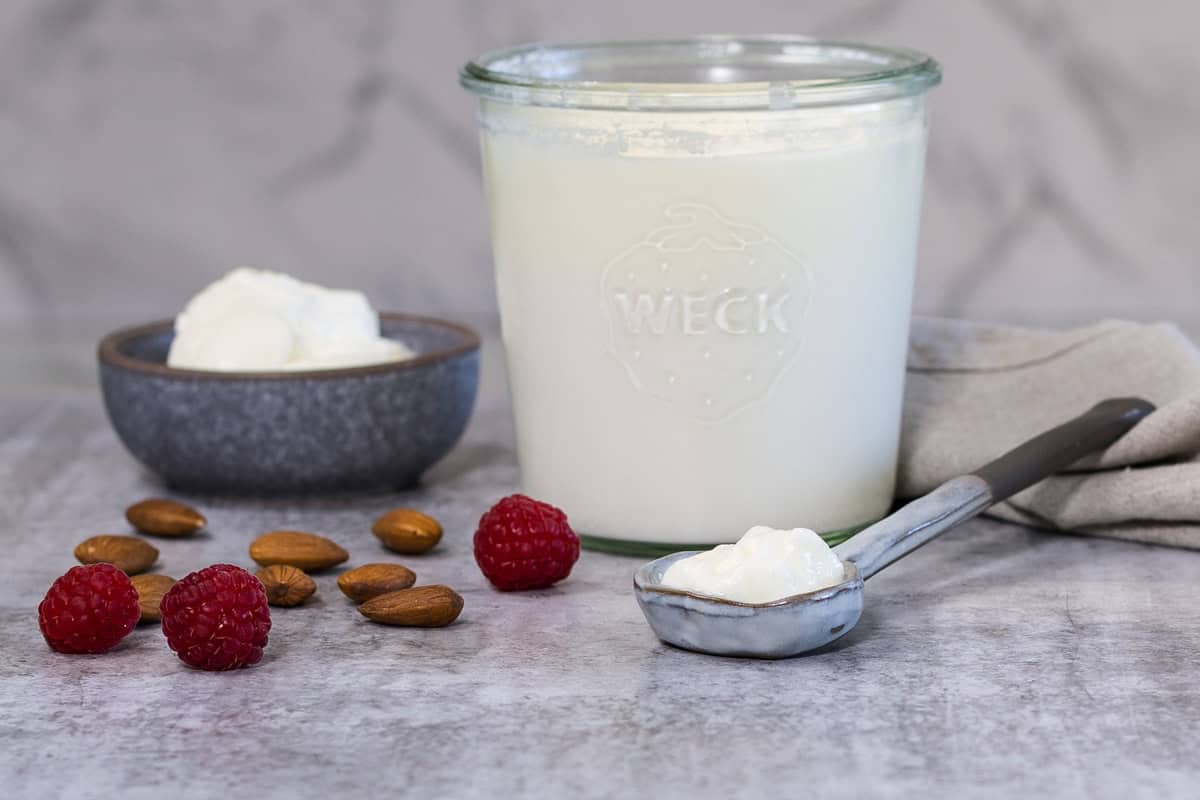
You can make yoghurt using any well-cleaned and sanitized jar with a lid, but my favorites are Weck canning jars. They have a glass lid with rubber seals and clips. The seals and clips can be replaced when they get worn, so the jars are a great investment over time. It doesn’t hurt that they look really cute, especially the single serve ones. I most often make my yoghurt in the larger Weck jars for expedience, because we go through so much of it. But my kids love when I make little individual pots.

Variations
If you prefer a looser or tangier yoghurt, try heating the milk to 176°F/80°C instead of 194°F/90°C, or fermenting it for a little longer than the 8-hour mark.
I know some of you will want to know about plant-based yoghurts, but I’m yet to try my own version! Plant-based milks for yoghurt are a whole other topic—they require different cultures and thickeners, so they’re not directly interchangeable with this recipe.
Step-by-step: how to make homemade yoghurt
- Heat the milk
Use your steam oven set to 194°F/90°C (steam only) and heat the milk for 45 minutes in a heatproof bowl or dish. Alternatively, heat it gently on the stovetop, stirring often, and hold at the same temperature for 10 minutes. - Cool the milk
Let the milk cool until it’s around 113°F/45°C. You can leave it to cool naturally or place the container into a cold water or ice bath to speed things up. - Add milk powder and starter
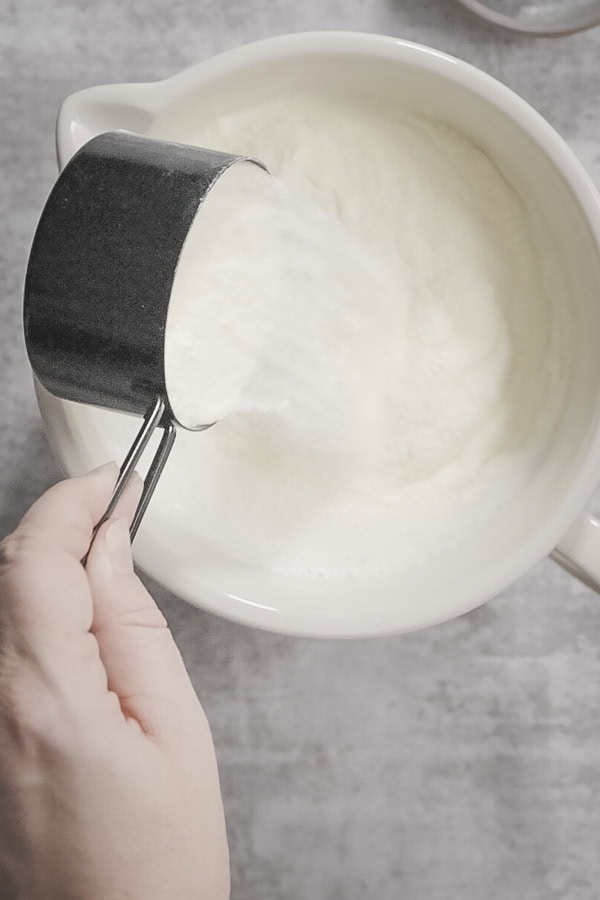
If using, whisk in the milk powder until dissolved. Add your starter yoghurt and whisk until smooth. - Transfer to jars and ferment
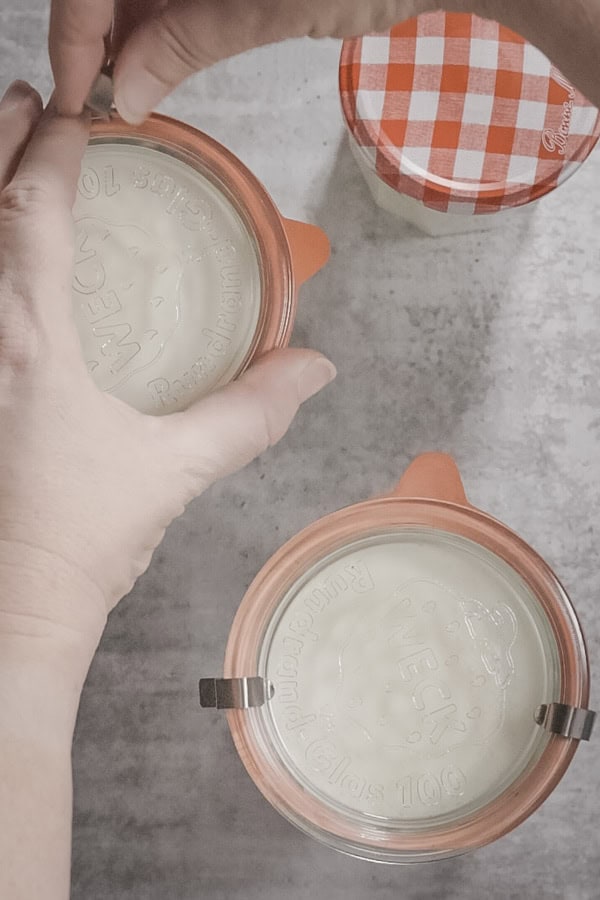
Pour the mixture into sanitized glass jars, cover with a lid, and place in your steam oven. Set the oven to 100°F/38°C (steam setting, or you could use a sous vide setting if your oven has one) and leave for 6 to 10 hours, depending on how tangy you like your yoghurt. Eight hours is a good starting point for mild flavour and thick texture. - Cool and store
Once fermented, refrigerate your yoghurt to chill and firm up. It’ll keep for around two weeks in the fridge. Don’t forget to reserve a couple of spoonfuls to start your next batch.


Tips for homemade yoghurt success
- Consistency in temperature is key for thick, smooth yoghurt. A steam oven takes care of this beautifully, holding the ideal fermentation temperature without fuss. If your steam oven doesn’t work at temperatures below 40°C, consider investing in a countertop yoghurt maker to get a consistent finished product.
- Use clean equipment throughout, especially when adding the starter, to avoid introducing unwanted bacteria that might affect your batch. I sanitize my yoghurt jars and lids in between batches (using my steam oven! Just set to a 20 minute steam cycle and put your clean jars into the oven, and it’ll take care of sanitizing them for you).
- If your yoghurt is thinner than you’d like, try adding milk powder next time, or strain the finished yoghurt through muslin to remove some of the whey.
Yoghurt serving and storage suggestions
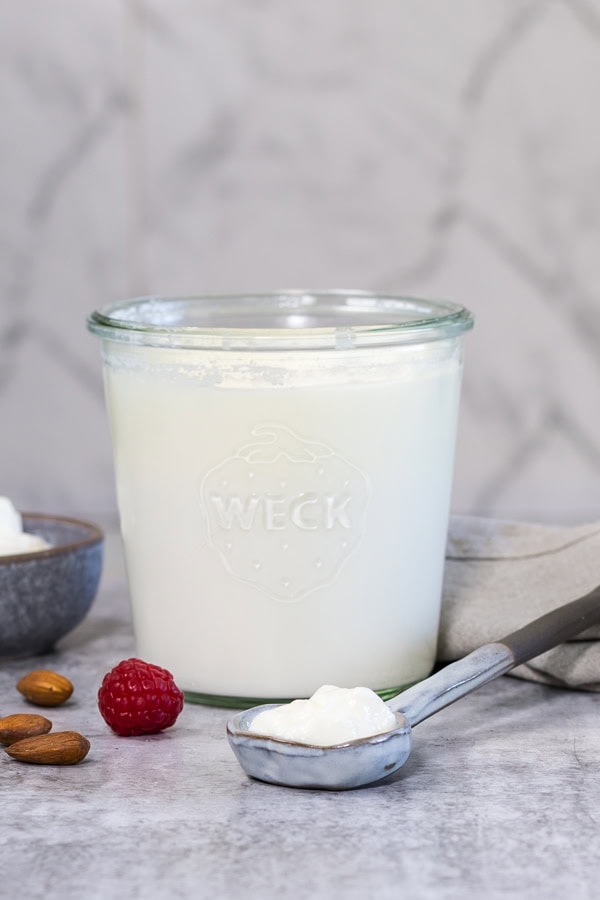
Serve your homemade yoghurt plain, with fruit or honey, or as a base for smoothies, sauces and marinades. You can also mix in a spoonful of jam for a quick flavoured yoghurt that’s still free from unnecessary additives.
Store in the fridge for up to 2 weeks, and always use clean utensils to scoop it out to extend its shelf life.
Homemade yoghurt is simple, satisfying, and surprisingly low-effort, especially with the help of a steam oven. Once you get into the rhythm of making it, you’ll find it’s easy to keep a regular supply on hand, ready for breakfast, snacks, and even savoury dishes.
If you’ve never tried making homemade yoghurt before, this is the recipe to get you started.
Homemade Yoghurt
Ingredients
- 1 quart whole milk full fat milk
- 1 cup skim milk powder optional, I use it to thicken and make my yoghurt creamier
- 2 Tbsp unsweetened natural yoghurt from bought unsweetened natural yoghurt or from a previous batch you’ve made
Instructions
Heat the milk
- There are two methods for heating the milk. My preferred way is to use my steam oven as it's more hands-off and you don't risk burning the milk on the bottom of a pan. For this method, pour the milk into a heatproof bowl or deep baking dish. Put it into your oven and set to Steam, 194°F/90°C (100% humidity). Heat for 45 minutes, then remove the bowl and cool until the milk is lukewarm, around 113°F/45°C.1 quart whole milk
- The more conventional method to heat the milk is on the stove. For this, pour the milk into a clean saucepan and heat over medium heat, stirring to stop it from catching on the pan, until it reaches 194°F/90°C on a thermometer. Hold the milk at this temperature, stirring to stop it catching, for 10 minutes. Remove from heat and let cool until the milk is lukewarm, around 113°F/45°C.
Add milk powder and starter yoghurt
- If using, tip the milk powder into the milk and whisk until it dissolves. Whisk in the starter yoghurt until smooth, then pour the mixture into a clean glass jar (or a few smaller jars). Put the lid/s on and place in your steam oven.1 cup skim milk powder, 2 Tbsp unsweetened natural yoghurt
Ferment yoghurt
- Set your oven to Steam 100°F/38°C and leave the yoghurt to ferment for anywhere from 6 to 10 hours. 8 hours is my family's sweet spot, for a yoghurt that's creamy and thick but not too tangy. A longer time will give you more tangy/sour yoghurt if that's what you prefer.
- When finished, remove from oven and chill your yoghurt. It will keep in the fridge for about 2 weeks, and you can use the last couple of tablespoons for your next batch of yoghurt.
Video
Notes
- Milk choice. You can make yoghurt using skim or low-fat milks, but it will affect the texture and thickness of the finished product. I find lower fat milks unreliable and inconsistent for yoghurt. More fat equals a creamier yoghurt, and it also sets better.
- Controlling the yoghurt’s thickness and sourness via milk temperature. Heating and holding the milk at 194°F/90°C makes the yoghurt set thicker and with a milder tang. If you like a thinner, more sour yoghurt you can heat to 176°F/80°C instead.
- Cooling the milk. I generally leave the heated milk to cool down on its own, but you can speed up the process by putting the pan into an ice bath and stirring until the milk is sufficiently cooled.
- Yoghurt starter culture. The easiest way to start your first batch of yoghurt is to buy a small tub of good quality, pot set, unsweetened yogurt. I have definitely found differences in my yoghurt quality depending on the starter yoghurt, and I don’t recommend using cheaper yoghurts with thickeners, gelatine or other additives. If you are looking to add specific probiotic strains to your yoghurt, there are online suppliers you can hunt down for powdered culture starters.
- Using milk powder. My kids love a very thick and creamy yoghurt, akin to a pot set Greek style yoghurt. Because I’m lazy and don’t want to muck around with straining the finished yoghurt (nor think about what to do with the resulting whey), I achieve this by adding milk solids, aka milk powder, to the milk before fermentation. It’s totally optional, try it both ways and see which you prefer.
- Fermentation time and temperature. Fermenting yoghurt at a low temperature for a long time is what helps it to set up smooth and soft. You can play with the time and temp to some extent, but be aware that fermenting for too long, or at too high a temperature (over about 42°C for extended periods) can result in yoghurt that’s lumpy and grainy, because the whey separates from the proteins in the milk.
- Further reading. This article discusses making yoghurt in a bread proofing appliance, but shares some excellent details about managing time, temp and different ingredients for the best results.


One Response
Who knew homemade yoghurt could be this easy? My breakfast game is about to level up.