



This post includes affiliate links. Find out more about affiliate links and how they help this site.
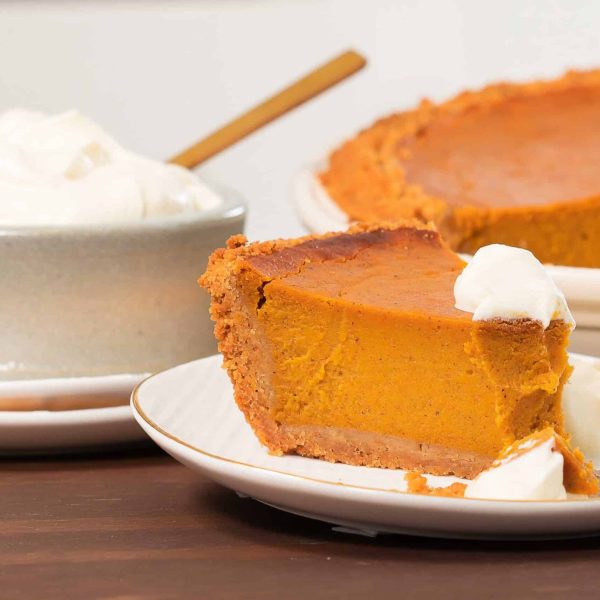
Bloggers and food websites all over America seem to be posting their own versions of pumpkin cheesecake at the moment. It’s everywhere. To be honest, the cynic in me thought it was a thing someone dreamed up as a way to modernise Thanksgiving dessert for people who were bored with the traditional pumpkin pie. I felt like it probably looked better than it tasted.
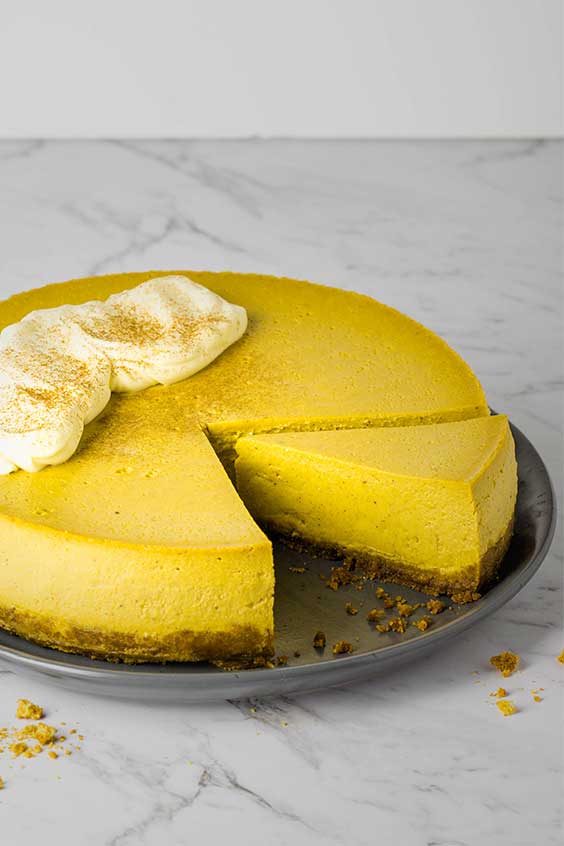
Born and raised in Australia, I have no need for Thanksgiving dishes, but something compelled me to give a pumpkin cheesecake a try, and when I did I was sorry I’d doubted the collective dessert-making wisdom. It’s not a stretch to say this is one of the best desserts I’ve made in quite some time, and it definitely deserves a place on your table, Thanksgiving or not.
You could use the more traditional water bath method here, and it will work just fine, but a steam oven pumpkin cheesecake is even better. There’s far less risk of overcooking, which leads to those dreaded cracks in the centre as the cake cools. Plus you no longer have to put up with the persnickety task of creating a water bath and making sure it remains full while baking. I don’t know about you, but often when I see the words ‘water bath’ in a recipe, I usually just skip on over to something else because I cannot be bothered.
What makes the best pumpkin cheesecake?
In the course of baking four pumpkin cheesecakes over the past couple of weeks, I’ve refined this recipe and worked out there are two things which really make it stand out.
The first is steaming the cheesecake to produce silky soft, very evenly set filling. I’ve been a convert to steamed cheesecakes for quite a while, and have already shared the same method in my Christmas Cheesecake recipe (which you can find in the Combi Steam Cooking at Christmas book). There’s no great secret to it, and you can adapt most baked cheesecake recipes to this method with similarly fantastic results. I always bake my cheesecake crust in a regular oven, but once that filling goes in it’s all about a low, slow steam to achieve the smoothest filling you could dream of.
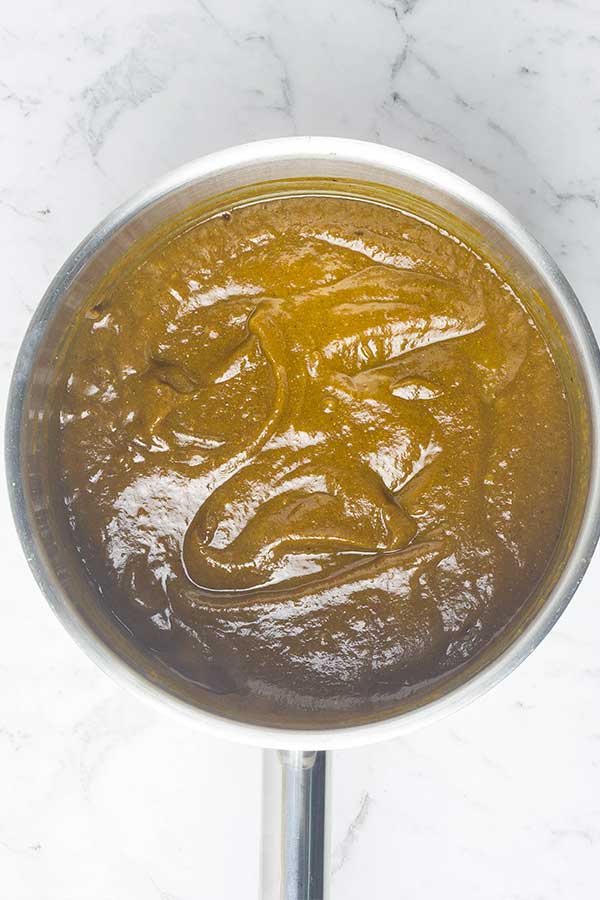
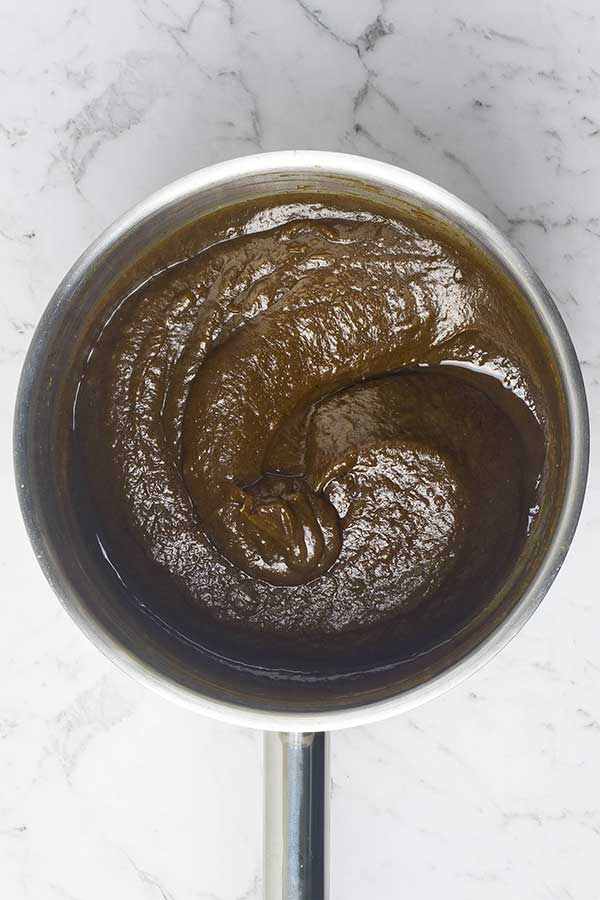
The other thing I learned during my quest for the best-textured pumpkin cheesecake is a little trick which I believe originally came from Rose Levy Beranbaum. Beranbaum is one of America’s most highly respected authors on the subject of baking, and for her own version of this dessert, she has you cook the pumpkin puree and sugar for the filling so it reduces down and becomes glossy, thick and more intense. It’s a genius move. Cooking the puree reduces its water content, which not only means it tastes more pumpkin-y, it also makes the final texture better because there’s less moisture incorporated into the filling. Less moisture means it’s very unlikely to ever split or curdle during cooking, even if you overdo it on the cooking time.


Should you roast your own pumpkin to make pumpkin puree for cheesecake?
If using a can of pumpkin puree rather than making your own means the difference between baking this cheesecake or not, then by all means go with the simpler bought version. You’ll still be very happy you made the cake.
Let me put this to you, though: this is the kind of cake you’re probably making for a celebratory meal. It’s not the cheapest in terms of ingredients, and if you really want to go all out for the best version you can offer, I’d recommend roasting your own pumpkin for the puree. It will be sweeter and have better depth of flavour, which you’ll notice in the finished cheesecake.
I live somewhere that I can’t readily buy pumpkin puree, so I almost always make my own. It’s easy and you can do it a couple of days in advance, so it’ll be there and waiting when you want to bake. Here’s how I do it: preheat the oven to 200°C/400°F using the combi steam setting (if you don’t have combi steam, a regular convection/fan oven setting is ok here, at the same temperature). Working with a sweet, dense-fleshed pumpkin, scoop the seeds out of the centre and cut the flesh into wedges. Leave the skin on. Cook until it’s tender right through and starting to brown at the edges, anywhere from 20-30 minutes, depending on the thickness of the wedges. Let it cool until you can handle the flesh, then scoop the flesh off the skin and puree using a food processor or stick blender (discard the skin). Pop your puree into a covered container in the refrigerator for up to a couple of days, or into the freezer for up to a couple of months.
If you’re out to impress with your next dessert, or you’re looking for a Thanksgiving alternative to pumpkin pie, I can’t recommend a steam oven pumpkin cheesecake highly enough.
Happy steam oven cooking, see you here again soon.
Do you want to use and love your steam oven more?
Steam Oven Insiders is a membership for steam oven cooks who’d like to know, use and love their combi steam ovens more.
In addition to an ad-free experience across the entire Steam & Bake website, Insiders also get exclusive access to a growing library of premium content, from recipes (always!) to downloadable cooking charts and guides, seasonal steam oven cooking ideas and more, delivered straight to your inbox in a helpful and inspiring twice-monthly newsletter.
As an Insider, you get the opportunity to shape the content published here, by requesting recipes and asking your curly steam oven cooking questions.
Not ready to become an Insider just yet? I hope you’ll still enjoy the hundreds of free recipes and articles across the Steam & Bake site, and that you’ll consider joining us in future.

Pumpkin Cheesecake
Ingredients
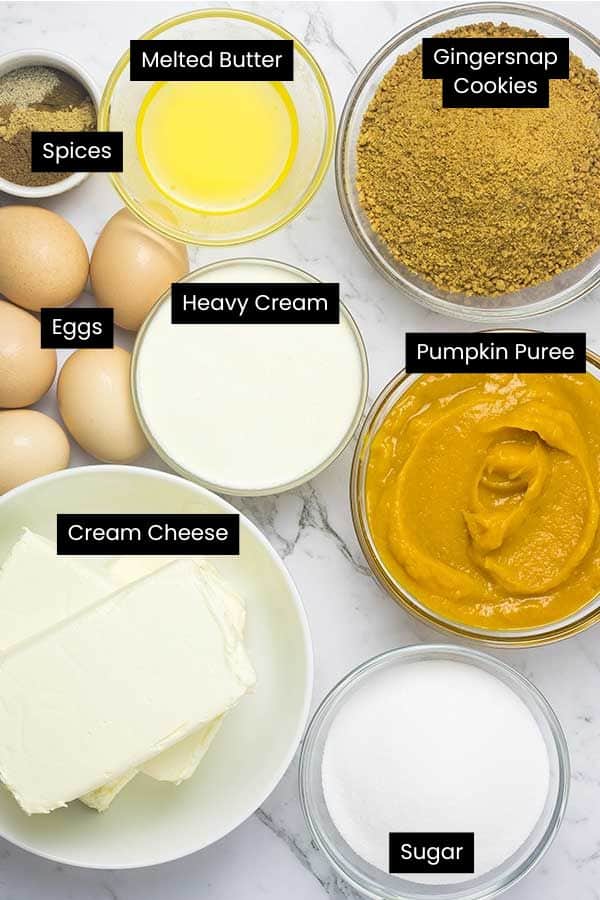
- 1 1/2 cups pumpkin puree or a 15oz can
- 1 cup granulated sugar
- 1 tsp ground ginger
- 1 tsp ground cinnamon
- ½ tsp ground cloves
- ¼ tsp ground nutmeg
- ¼ tsp white pepper optional but it brings a beautiful warmth to the finished cake
- 8 oz gingersnap cookies crushed into fine crumbs
- 2 tbs granulated sugar extra
- 2 1/2 tbs unsalted butter melted
- 1 cup heavy cream
- 24 oz cream cheese 3 x 8oz/250g blocks, room temperature
- 5 eggs
Instructions
- Put the pumpkin puree, sugar and spices into a pan and cook, stirring often, over medium heat until it’s thickened and glossy. Set aside to cool while you make the base.
- Preheat oven to 180°C/350°F, fan forced/conventional setting. Grease a 22cm/9in springform cake pan and line the base with baking paper.
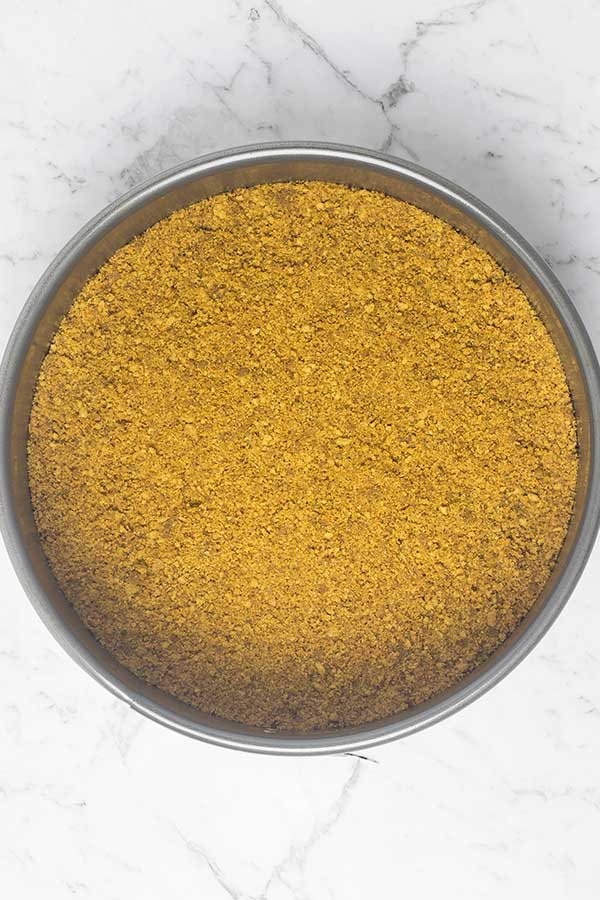
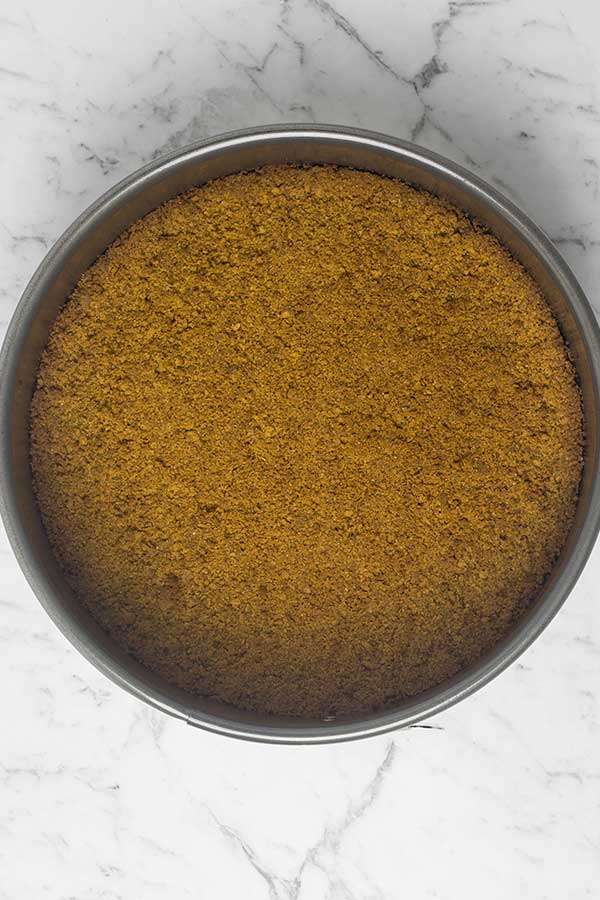
- Mix the cookie crumbs, sugar and melted butter together and press over the base of your prepared cake pan. Bake for 12 minutes, then remove from oven and set aside to cool.
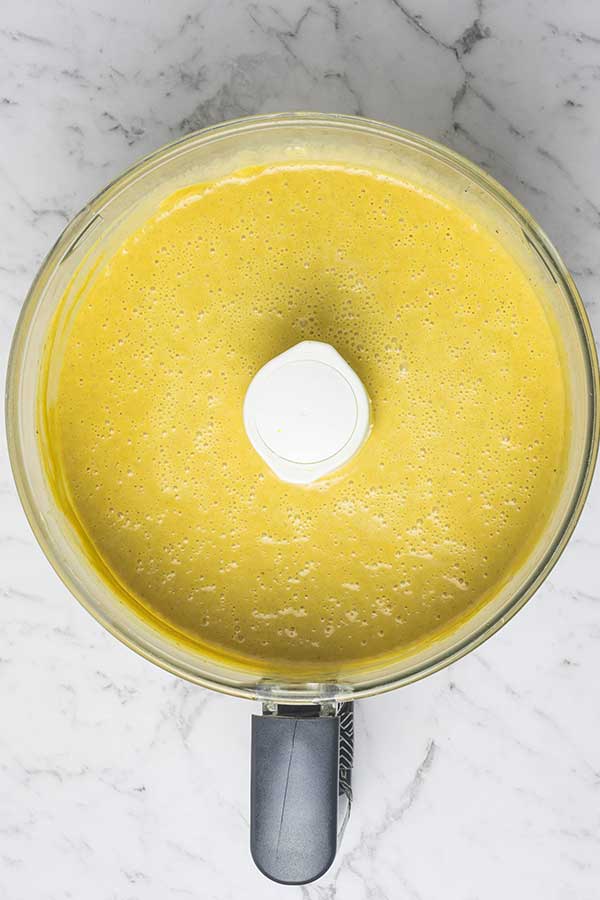
- Put the cooled pumpkin mixture into the bowl of a food processor with the salt, cream and cream cheese, and run the processor until everything is very smooth. Add the eggs and process again until smooth. Don’t over-process here, as you don’t want lots of air bubbles in the finished cheesecake.
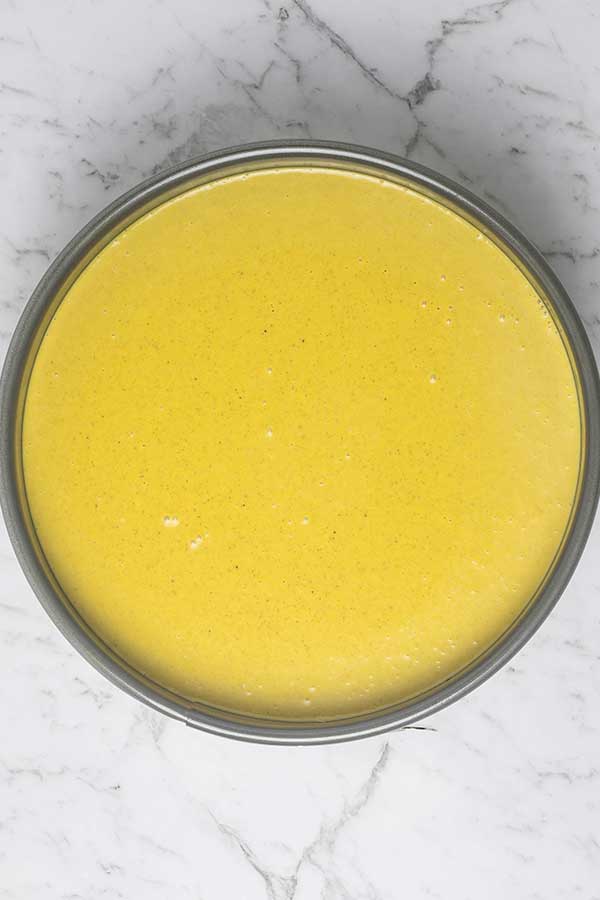
- Pour the filling over the baked and cooled base and cover the pan with a layer of aluminium foil (this will stop drips of condensation from the top of the steam oven ruining the top of your cake). Put the cake in your steam oven and set to 95°C/203°F, steam setting. Steam until the cake is set through, with a very slight wobble in the centre, about 2 hours. Cool to room temperature in the switched-off oven, then transfer to the refrigerator and chill for at least 4 hours, or preferably overnight, before serving with crème fraiche, mascarpone or whipped cream.
Notes
- Most types of ginger cookie will work for the base here, or you could just go with a straight up graham cracker crust. My preference is for a hard, crunchy cookie that’s a supermarket standard in Australia, called a gingernut. They make great crumbs which stay slightly crispy in the baked cheesecake for several days.
- Staying with the ginger theme, we love the stuff around here and that’s reflected in the amount of ground ginger in the filling. If you aren’t so sold on it, cut the ginger back to half a teaspoon instead.
- Don’t be tempted to make this without a springform pan, you’ll never get the cake out of a regular pan in one piece. And if, like mine, your springform is a little old and the base doesn’t seal up that well, wrap a layer of foil around it so nothing leaks out into your oven during steaming. Experience shows that a greasy film puddled in the base of your oven after cooking is not much fun to clean up.
- Your cooked cheesecake will keep for up to three days in the fridge (well, longer, really, but the crust will go soft eventually). I suspect you might be able to freeze an entire finished cake to thaw and serve when you need it, but I haven’t tried because, well, we kept eating or giving away the test versions! If you want to try freezing, I’d bake a trial cake and freeze a single slice to see how it holds up, before you commit yourself to a whole cake.
Nutrition
Over to you – if you try this recipe I’d love to know about it! Please share your pictures with me on Facebook or tag them #whatsinthesteamoven on Instagram.
If you’re after more delicious recipes and ideas for the festive season, my guide to roasting turkey in a steam oven should help, as will the Combi Steam Cooking at Christmas cookbook.
Would you like more Steam and Bake recipes and steam oven inspiration? Join the mailing list – there’s no spam, just an email every now and then to tell you the latest. When you sign up, you’ll get an invite to the exclusive subscribers-only Combi Steam Cooking Facebook group, which is full of people at all stages of their combi steam journeys, and with many different brands of oven. It’s a friendly, helpful space to learn and share with one another, and I’m always in there answering questions and sharing tips.




8 Responses
I haven’t had any trouble with the base absorbing too much moisture, and I’ve made a lot of different cheesecakes by this method. I think the butter in the base helps to form a bit of a barrier to the filling, as does the fact it’s prebaked and quite firm going into the oven.
although prebaked the base doesn’t absorb moisture when you bake it? it takes a long time in the oven, at a low temperature (which doesn’t bake the crust), with a liquid filling on top which remains liquid for a long time till set
You can use 100% steam for this recipe in a Gaggenau. 🙂
I have a Gaggenau steam oven. Should I use 30, 60, or 100% steam?
I’d go with 90 – you want to keep it nice and low if you can, which helps to stop the edges from becoming tough or overcooked before the middle has set properly.
If your only choice of temperatures is 90° or 100° which would you choose?
If I wanted to make a half size cheesecake, should I choose 90° or 100° steam (the only choices with my Cuisinart)? I don’t do Thanksgiving either, but can’t recall many pumpkin recipes I didn’t like 😊
I made this cheesecake yesterday and took it to an Army Navy football game party. Loved by all, lite and tasty. My only question is about the salt. U don’t list an amount but u mention it in the instructions. I did not add any because I looked up other cheesecake recipes and none added salt. I will definitely make this again. By the way I also made my own pumpkin purée and very easy in a steam oven. Thank u for all your recipes.