

As an Amazon affiliate I earn from qualifying purchases. This post may also contain other affiliate links, which means I may earn a commission if you click through and make a purchase, at no additional cost to you.
Look up how to cook chickpeas and you’ll get thousands of search responses with details about how to cook dried chickpeas, how long to soak chickpeas and some decent articles on no-soak methods showing you how to prepare chickpeas quickly.
After trying most ways of cooking dried chickpeas over the years, I’m confident in telling you that these steamed chickpeas are hands-down the best way to get perfect texture and plump, whole peas with intact (but not tough) skins.
Today I’ll show you how to cook chickpeas in your steam oven. If you don’t own a steam oven you can adapt the method to cook chickpeas using a stovetop steamer.
You’ll love how easy it is to cook your own chickpeas rather than buying the canned version. They come out whole and not mushy; plus they’re creamier and nuttier, making them perfect for using in cooking or salads. And cooking chickpeas is cheaper than buying a can, so they’re a great budget friendly protein!
How to prepare chickpeas
Chickpeas are sensitive little things, and get finicky about rapid temperature changes. This actually makes boiling inconsistent and you can end up with chickpeas which never soften properly.
How do we fix this? Easy! Steaming your chickpeas covered with water makes for a very gentle cook and the best possible texture. They never boil, which can make the skins tough and the texture chalky. Rather, steaming just keeps them at a steady temperature that’s hot enough to cook evenly. And, bonus, you won’t need to skim the surface of the cooking water because steaming produces barely any of the foamy scum you’d normally expect when cooking pulses.
To prepare chickpeas for cooking, you’ll need to soak them in cold water and salt, drain and refresh the water and add a little baking soda to keep the skins nice and soft. It’s as easy as that!


Enjoying this post? Here are some others you might like!
How long to soak chickpeas
I always recommend soaking dried chickpeas overnight in plenty of cold water. This is the best way to rehydrate and plump them up, and to keep their shape and texture.
Soaking beans and chickpeas slowly also promotes faster cooking and better digestibility, so it’s worth planning ahead if you can.
Sometimes, though, you’re in a rush. We’ve all been there! If that’s the case, you can speed up the process of soaking chickpeas. Put your chickpeas in a saucepan and add your water and salt. Bring the water to a boil and simmer for 2 minutes, then remove from heat and allow the chickpeas to cool in the water for an hour.
Side by side, you’d probably notice that fast-soaked chickpeas are not as well-textured as their slow soaked cousins. They are, however, still miles ahead of their canned bean-y buddies.
Cooking your chickpeas
Cooking dried chickpeas by steaming couldn’t be easier.

After they’ve been soaked, drain the soaking water and cover your chickpeas with fresh cold water and a little baking soda. Baking soda helps with softening the chickpeas and cuts down cooking time.
Put the chickpeas into your steam oven and turn it on, then cook until the chickpeas are tender and can be easily squashed between two fingers.
The time it takes to cook chickpeas depends on the chickpeas themselves. I’ve had batches which take only 25 minutes from cold, and others which need 45 minutes or even longer. Factors like age, how dry your climate is and how the chickpeas were stored can all impact on cooking time, so go for the right texture instead of a specific time.
The best chickpea recipes
If you’re cooking your own chickpeas, you’ve likely got an idea of what to do with them already. They’re great added to salads, soups and casseroles, can be blended into creamy hummus and play a starring role in vegetarian or vegan curries and stews.
Some of my favorite things to do with chickpeas are:
- Gorgeous Mediterranean chickpea salad with spiced chickpeas as the base
- Vegan ‘egg salad’ sandwich where the boiled eggs are replaced with mashed chickpeas. Sounds weird, is really great.
- Make hummus. My usual is made the traditional way with tahini (sesame paste) and chickpeas, but I recently found this tahini-free hummus which has avocado blended into it. It’s perfect when I don’t have a jar of tahini on hand!
Don’t throw away the chickpea water!
There is one other thing I love about cooking my own chickpeas, and that’s aquafaba. The literal translation is bean water, but that doesn’t really do justice to how versatile your chickpea cooking liquid is.
Aquafaba is the most amazing substitute for egg whites, whipping up in much the same way to create meringues and meringue-like dishes without any egg at all. This makes it fantastic for people with egg allergies, those following a vegan lifestyle or those of us who are looking for sustainable and low waste options in the kitchen.
You can definitely use aquafaba from canned chickpeas, however I prefer the stuff from my home-cooked chickpeas instead. There’s nothing added except that touch of baking soda, whereas in some canned chickpeas you’ll find thickeners, salt and even sugar added to the water.
My blogger friend Meggan is a genius with aquafaba. As well as her cult-famous vegan macarons, I can recommend her vegan American meringue buttercream and royal icing recipes as great ways to use up your leftover aquafaba.
If you enjoy chickpeas as much as I do, I hope you’ll try cooking your own soon. They really are noticeably better than canned, and so versatile in all kinds of delicious meals.
Do you want to use and love your steam oven more?
Steam Oven Insiders is a membership for steam oven cooks who’d like to know, use and love their combi steam ovens more.
In addition to an ad-free experience across the entire Steam & Bake website, Insiders also get exclusive access to a growing library of premium content, from recipes (always!) to downloadable cooking charts and guides, seasonal steam oven cooking ideas and more, delivered straight to your inbox in a helpful and inspiring twice-monthly newsletter.
As an Insider, you get the opportunity to shape the content published here, by requesting recipes and asking your curly steam oven cooking questions.
Not ready to become an Insider just yet? I hope you’ll still enjoy the hundreds of free recipes and articles across the Steam & Bake site, and that you’ll consider joining us in future.
Have you made and enjoyed this recipe? I’d love if you’d be kind enough to rate and review it via the stars in the recipe card, and leave a comment below! Ratings and reviews help other readers to find and understand my recipes from a reader’s perspective.

Chickpeas in the Steam Oven
Instructions
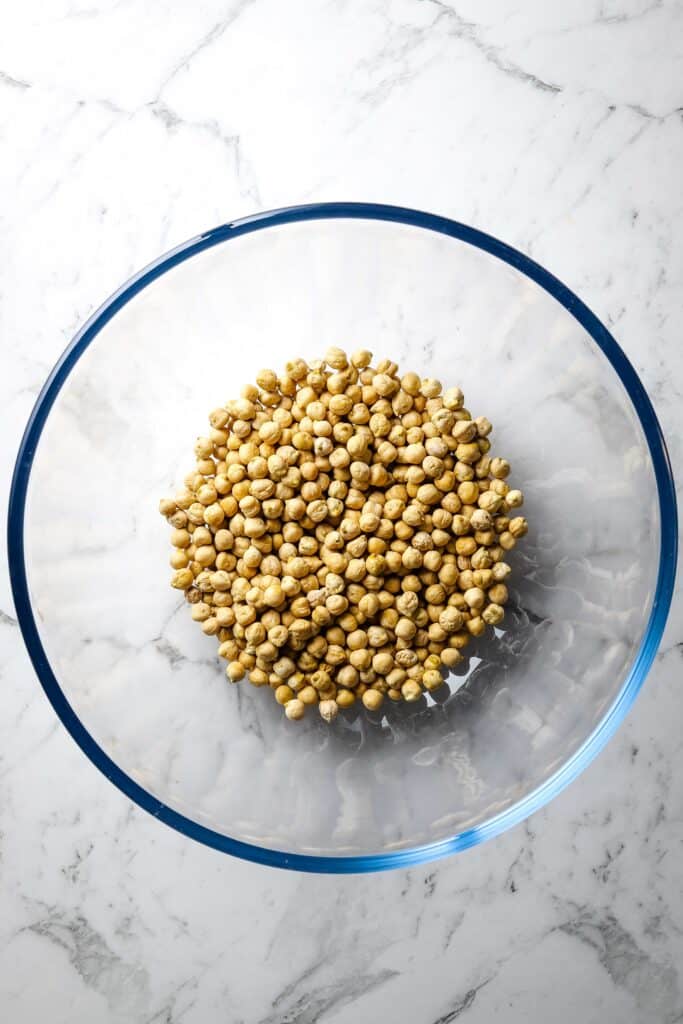
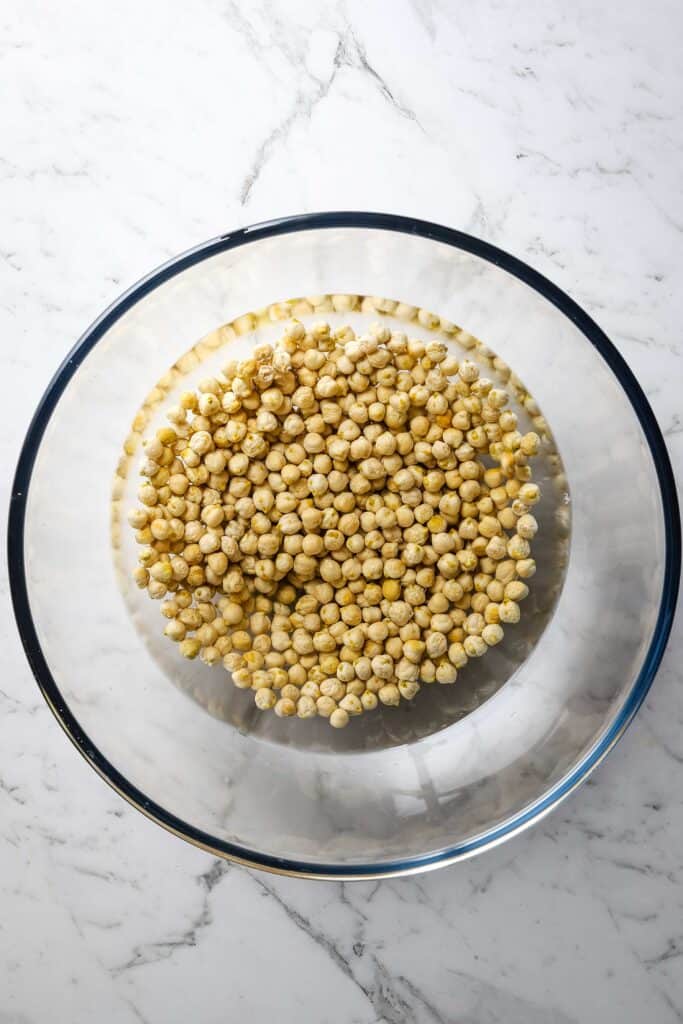
- Put the chickpeas into a large bowl. Cover with room temperature water; there needs to be a couple of inches of water sitting above the chickpeas as they’ll take up a lot while they soak. Set aside for 8 hours or overnight before proceeding.1 ½ cups dried chickpeas
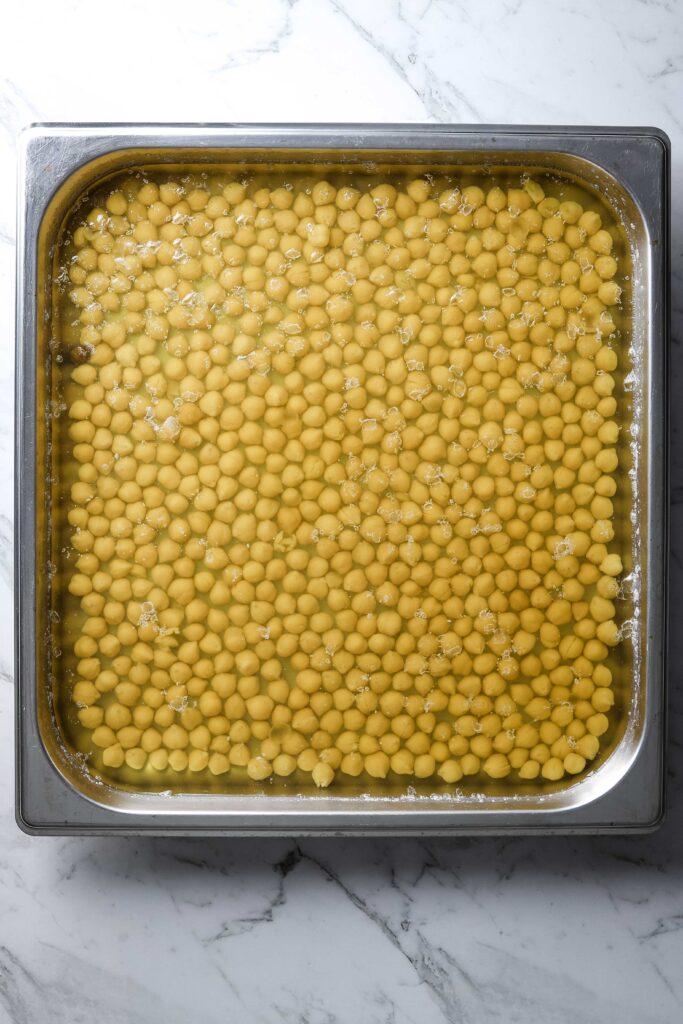
- After soaking, drain any remaining water off the chickpeas. Place them into a shallow heatproof pan and cover with fresh water. Sprinkle with the baking soda to make the skins softer, and give it a stir.1 ½ cups dried chickpeas, ½ tsp baking soda
- Put the pan into your oven and set to steam setting, 212℉/100℃ (100% humidity). Cook until the chickpeas are tender, anywhere from 25-45 minutes depending on their age. The chickpeas are cooked when they squash between your fingers with almost no resistance and have uniform texture all the way through.
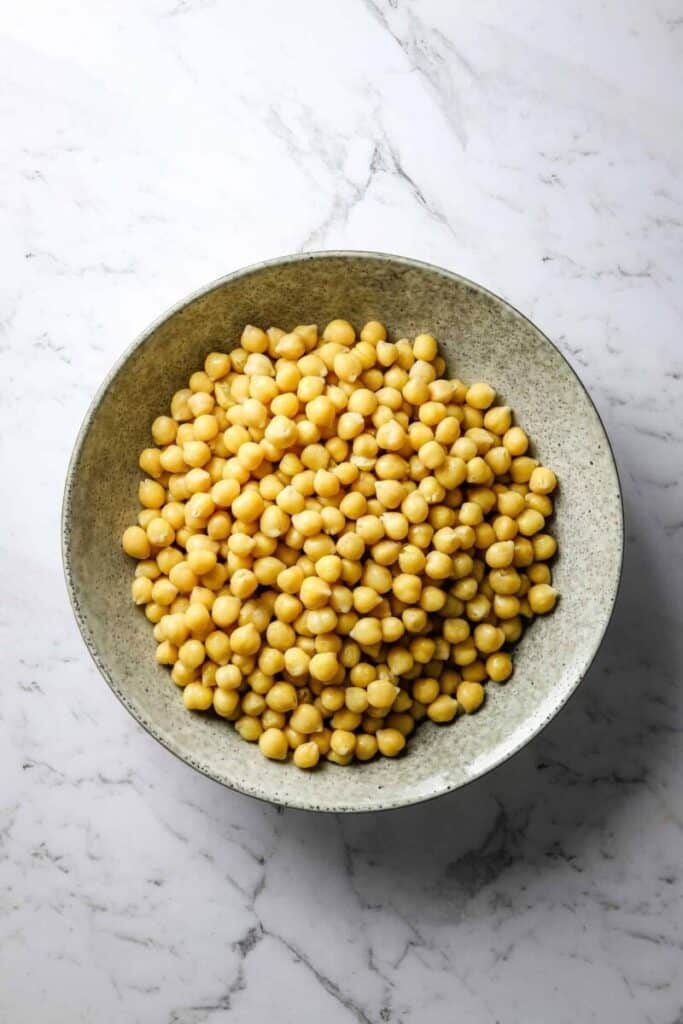
- Cool the chickpeas in the cooking liquid. Drain and use in your favorite recipes, or store, covered with the cooking liquid, in the fridge for up to 4 days. Cooked chickpeas can be frozen in the liquid for up to 6 months. Defrost overnight in the fridge and use as normal.
Video
Notes
- You can scale the quantities of this recipe up or down without really affecting the cooking time. Just don’t put the chickpeas in too deep a pan for cooking if you’re making a lot – two shallow pans is far better than one overcrowded deep one.


8 Responses
Yes, absolutely! Soaking and steaming works for pretty much all legumes and beans especially come out super creamy but with excellent presentation because the skins are less likely to split.
Can you use this method to cook other beans… black, white, or kidney?
This recipe has made my life easier. Cooking dried beans in the steam oven is so simple, and the flavor and texture is better than canned. I freeze the extra chickpeas so that I always have some on hand.
It depends somewhat on the age of your chickpeas. They do get old and stale, and when that happens they can take an age to cook. The best way to avoid this is to make sure you buy the dried peas from a store which has a good turnover.
How long does it take using the stovetop steamer? It took me two hours and it’s just slightly soft
Easy and so much nicer than canned chickpeas!
That is a common school of thought, however over the past several years I’ve seen (and tasted) several blind experiments with salt vs no salt. Pulses salted before or during cooking don’t seem to suffer at all in texture, and are actually improved in flavour compared to ones salted later. I cook them both ways depending on what I plan to use the finished pulses in – it’s worth trying with salt, though, to see what you think!
I thought no salt should be added as it makes the pulses tough